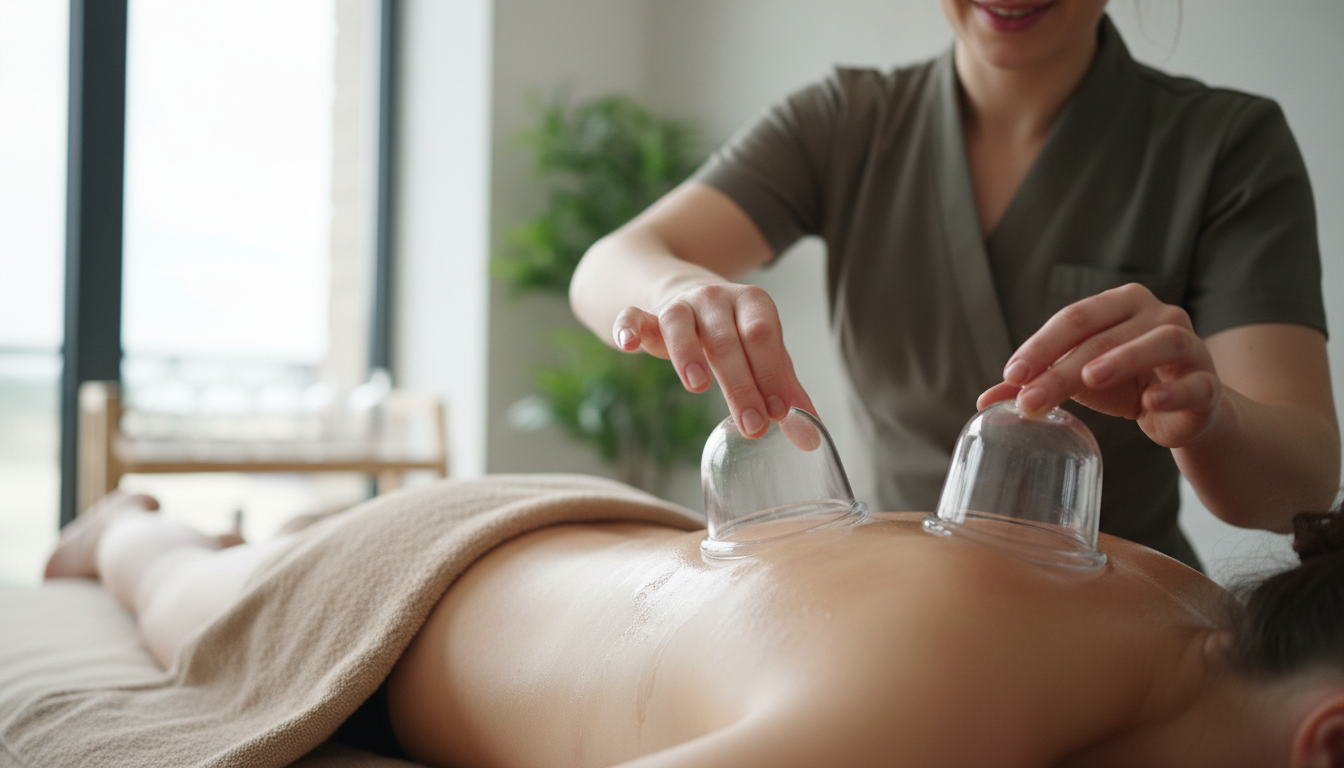
What Is the Purpose of Vacuum Massage?
Let’s clear up a common misconception right away: “Vacuum massage is just a fancy way to give yourself bruises.” If you’ve ever seen someone walk out of a cupping session looking like they lost a fight with an octopus, it’s easy to jump to that conclusion. But here’s the truth: when performed correctly, vacuum massage (also called suction cup massage or cupping massage) is a safe, controlled technique that promotes muscle relaxation, improves local blood circulation, and supports lymphatic drainage. The infamous marks come from using too much suction, leaving the cup stationary for too long, or working over sensitive or damaged tissue—not from the method itself.
Done right, it feels like a deep, pulling stretch rather than a painful pinch. The goal is to lift and stretch the fascia and skin without causing trauma. Whether you’re a home user curious about cellulite reduction or a spa professional adding vacuum therapy to your menu, understanding what this technique can really do—and what it can’t—is the first step to using it well.
Realistic benefits include:
- Increased blood flow to treated areas, which can help reduce muscle stiffness.
- Mild skin tightening through temporary plumping and better circulation.
- Lymphatic drainage support, especially when movements follow the natural lymph pathways.
- Reduction in the appearance of cellulite after a course of sessions (not a single use).
It’s not a weight-loss tool, nor a treatment for serious medical conditions. Keep expectations realistic, and you’ll enjoy the process much more.
How to Prepare for Your Session
Preparation makes the difference between a productive session and a painful mistake. Follow these steps every time.
Skin cleansing
Start with clean, dry skin. Oils, lotions, or dirt can interfere with suction or cause the cup to slide unevenly. Take a quick shower or wash the area with mild soap and pat dry. If you use oil for sliding techniques, apply it right before the cup, not before cleaning.
Choosing the right medium
For stationary or gliding techniques, a thin layer of body oil or massage cream is essential. Without it, the cup can drag and pinch. Avoid overly thick creams that clog the suction valve. A simple unscented oil works best.
Checking device settings
If your device has adjustable suction (manual or electric), set it to the lowest level first. You can always increase pressure, but you cannot undo a bruise. Test on a small area like your forearm before moving to the target zone.
Reviewing contraindications
Do not use vacuum massage over:
- Varicose veins or areas with visible spider veins
- Open wounds, sunburn, or recent scars
- Bony prominences (knees, elbows, spine)
- During pregnancy (especially abdomen and lower back)
- Over the abdomen or lower back during menstruation
- If you have a known bleeding disorder or are on blood-thinning medication
A quick rule: if the area feels tender, bruised, or irritated already, skip it. Let the skin and tissue recover before your next session.
The Main Actions for Effective Application
Now for the actual vacuum massage technique. Follow these steps for safe and effective use.
Step 1 – Place the cup
Apply a small amount of oil to the skin. Press the cup firmly against the area, then create suction according to your device’s instructions. For manual cups, squeeze the bulb and release. For electric devices, use the lowest setting. The skin should lift about 1–2 cm into the cup. If it bulges more than that, release and lower the suction.
Step 2 – Move in the right direction
Always move the cup toward the nearest lymph nodes (groin, armpit, or collarbone). This supports lymphatic drainage and prevents fluid from pooling in one spot. For example:
| Body area | Suggested direction |
|---|---|
| Thighs | Upward toward the groin |
| Buttocks | Upward and outward toward the sides of the hip |
| Arms | Toward the armpit |
| Back | Upward toward the neck or downward toward the lower back depending on the area (follow lymph flow) |
Step 3 – Duration and frequency
- Per area: 2–5 minutes per muscle group. Do not exceed 10 minutes total per session when starting out.
- Frequency: 2–3 times per week maximum. Daily use can cause overstimulation and soreness.
- Pressure: Start low. If you feel pinching or sharp pain, reduce suction immediately. A comfortable pulling sensation is fine; sharp pain is not.
Step 4 – Gliding vs. stationary
For muscle relaxation, use slow, continuous gliding moves (like a deep tissue stroke). For localized trigger points or tight knots, hold the cup stationary for 30–60 seconds without moving it. Do not hold still longer than 60 seconds without adjusting the cup.
Nuances and Common Pitfalls to Avoid
Even with good technique, small mistakes can ruin the experience. Here are the most frequent errors and how to sidestep them.
Avoid bony areas
Vacuum cup massage over joints, shins, the spine, or collarbones can cause immediate pain and bruising. If you must work near these areas, reduce suction significantly and keep the cup moving.
Recognize excessive suction
Signs you’ve gone too far:
- Skin turns dark red or purple within seconds
- Sharp stinging sensation
- Deep indent that doesn’t fade after 30 seconds
- Blisters or broken capillaries
If any of these occur, release the suction and apply gentle pressure to the area with a cool cloth. Wait at least 24 hours before treating that spot again.
Adjust for sensitive skin
Fragile or thin skin (common on the inner arms, inner thighs, and neck) needs lighter pressure and shorter sessions. Use a larger cup if available—it distributes the suction over a wider area and reduces traction on a single point.
Don’t overwork the same area
Repeated passes over the same spot in one session can cause micro-trauma. Stick to 3–4 slow passes per direction. If you’re targeting a stubborn knot, hold still for 30 seconds instead of gliding repeatedly.
A good rule of thumb: if the skin feels hot or looks redder than the surrounding area after the session, you probably used too much suction or moved too fast.
When to stop
Stop immediately if you feel dizzy, nauseous, or if the pain persists after releasing the cup. These reactions are rare but can happen, especially with aggressive suction on the back or neck.
Care and Maintenance of Your Device
Your vacuum massage device will last longer and perform better if you clean and store it properly. Neglecting maintenance can lead to bacterial buildup, reduced suction, or cracked cups.
After each use
- Detach the cup from the handle (if possible).
- Wash the cup with warm water and mild soap. Use a soft cloth or sponge – no abrasive scrubbers.
- Rinse thoroughly to remove all soap residue.
- Wipe the handle and any electronic parts with a damp cloth. Do not submerge electric components.
- Dry all parts completely before storing. Moisture can cause mold or rust on springs and valves.
Cleaning schedule
- Daily use: wash after every session.
- Weekly: sanitize the cup with a 70% isopropyl alcohol wipe (if the material is alcohol-safe – check your manual).
- Monthly: inspect the suction valve and O-ring (if present) for wear. Replace if cracked or stretched.
Storage tips
- Store cups in a cool, dry place away from direct sunlight. UV light can degrade silicone or plastic over time.
- Keep cups in their original case or a breathable bag. Avoid stacking heavy objects on top.
- For electric devices, remove batteries if not used for more than a week to prevent corrosion.
When to replace
| Part | Signs of wear | Replacement interval |
|---|---|---|
| Silicone cup | Cracks, sticky surface, loss of flexibility | Every 6–12 months, or sooner if visible damage |
| Plastic cup | Scratches, warping, rough edges | Every 12–18 months, or if suction fails |
| Valve/filter | Clogged, torn, or not holding suction | As needed – usually every 3–6 months |
| Handle/tube | Cracks, leaks, disconnection | Replace whole set if compromised |
Final Thoughts – Do You Actually Need a Vacuum Massage?
After reading this guide, you’re probably in a better position to decide. Vacuum massage isn’t a miracle cure, nor is it a risky fad when approached with knowledge. It’s a useful tool for muscle relaxation, circulation support, and enhancing the look of skin—especially when combined with other healthy habits like hydration, stretching, and a balanced diet.
If you’re a home user, the key takeaways are simple: prepare properly, move slowly, respect your skin’s limits, and clean your device after every session. For spa professionals, integrating suction cup massage into your menu requires proper training and clear client education—but the technique itself is well-established and well-tolerated when done right.
Ultimately, the question “Do you actually need a vacuum massage?” comes down to your personal goals. If you’re curious and willing to learn the basics, it can become a rewarding addition to your self-care or professional practice. Start gently, pay attention to your body’s signals, and you’ll quickly see that the bruises you feared are entirely avoidable.
